Creating your first website
In this tutorial, we will walk you through the process of creating a simple website with a Button which shows the alert "Hello World", on clicking on it.
Prerequisites
- A Google account or GitHub account.
- A computer with a modern web browser installed (Chrome, Firefox, Safari, Edge, etc.).
Let's get started
-
Open your browser and navigate to BlockySite.
-
Click on the
Get Startedbutton on the home page. -
You will be redirected to the login page.
-
Click on the
Sign in with Googlebutton orSign in with GitHubbutton to log in to BlockySite. -
After successful login, you will be redirected to the
Creatorpage of BlockySite.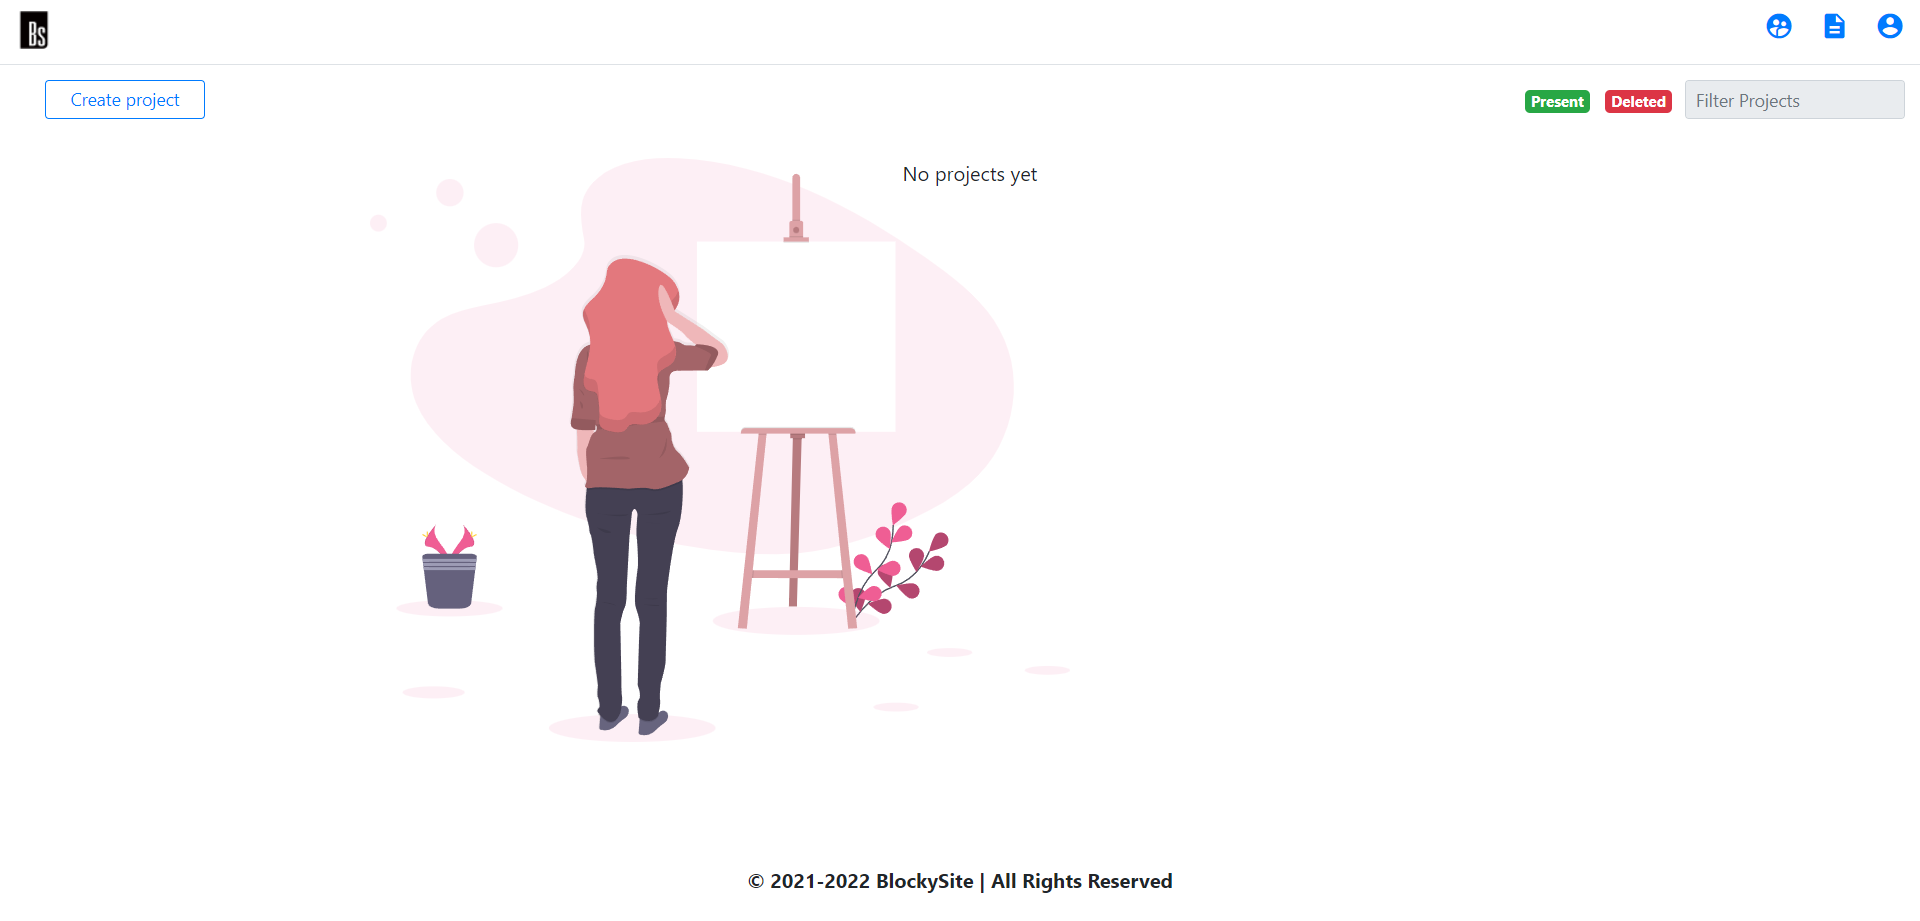
-
This is the place where you start creating your websites.
-
You can see the list of websites you have created.
-
You can create a new website by clicking on the
New Websitebutton. -
Now give a name to your website and click on the
Createbutton. -
You will be redirected to the
Designerpage of your website.
At this point, we recommend going through the Understanding BlockySite creator page to get an overview of developing website in BlockySite.
The user Interface of BlockySite Creator
Designer
First, let us walk through the Designer UI of BlockySite Creator.
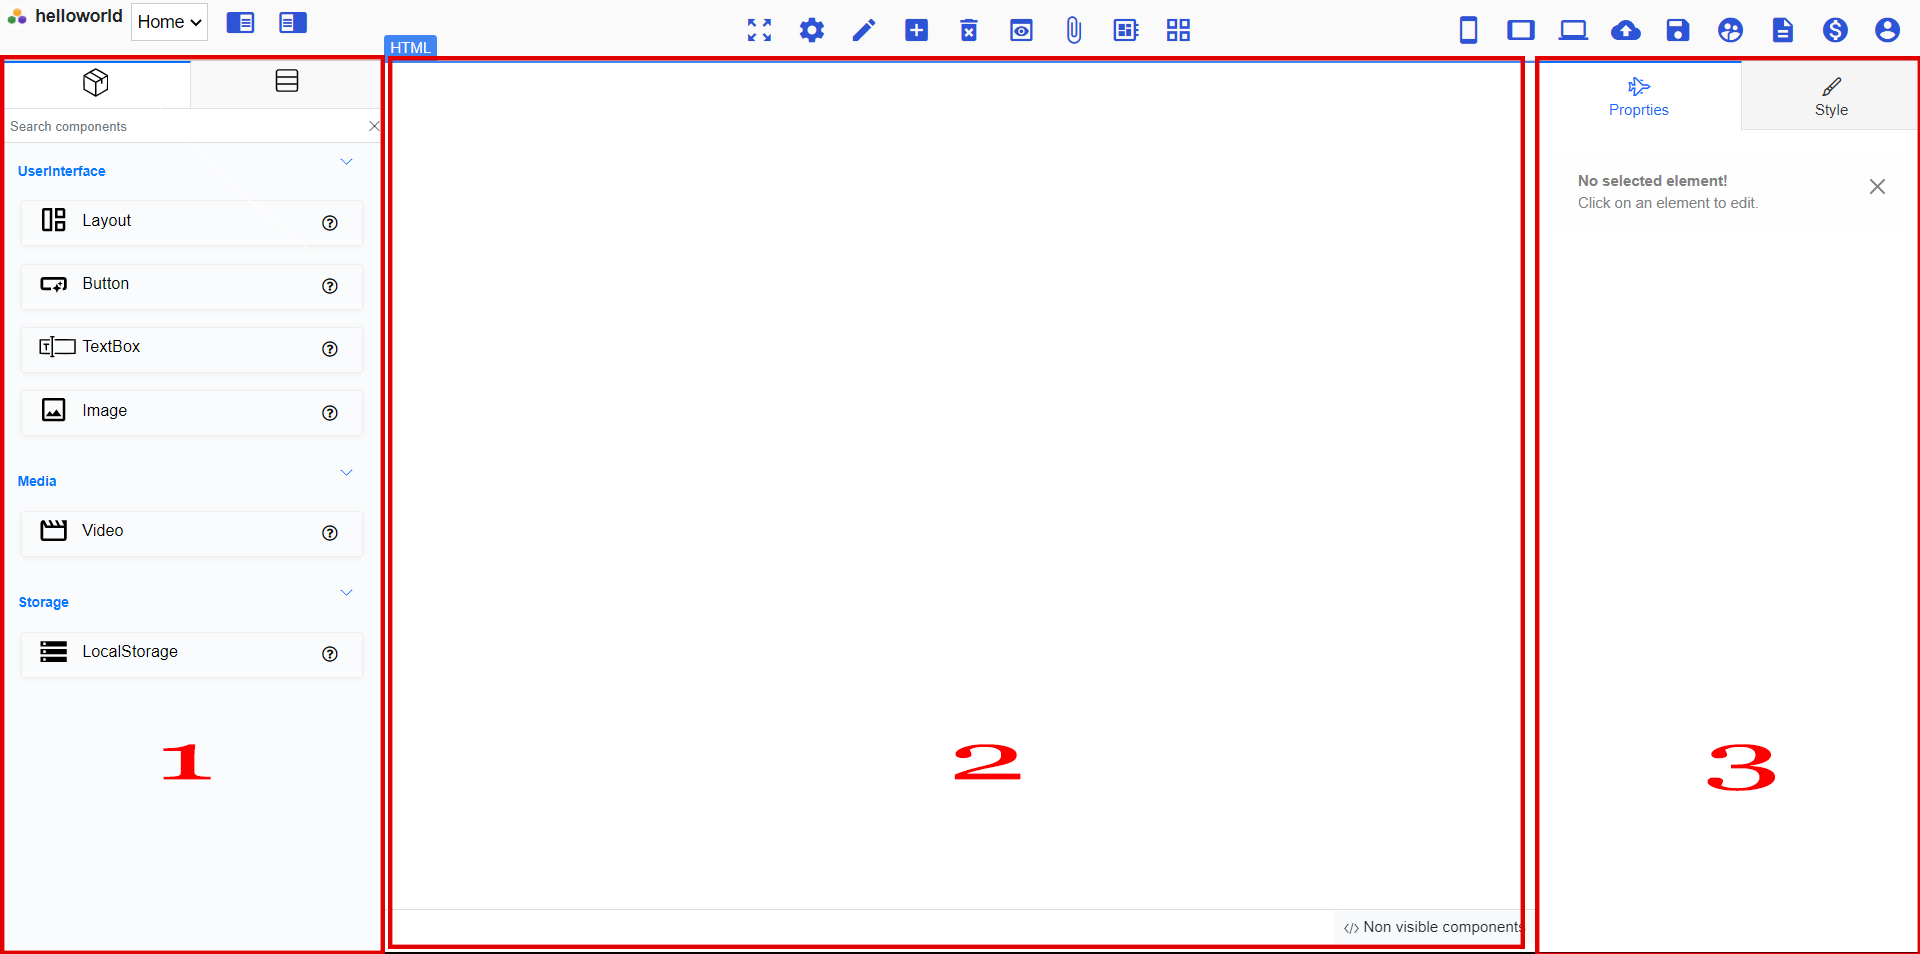
The above-shown screen is called Designer.
From this page, you can add/delete Components and modify their properties and styles.
- On the left side of your page, numbered
1is theComponents Paletteor simplyPalette. This consists of various components grouped under different categories. When you need to add a component, you can click on the component on thePalette, hold it, and drag it onto theViewerarea of the Designer page. - The middle section, numbered
2is theViewerwhich gives a mocked-up view of the website as seen on a real device. To add a component to the project, drag the component from the Palette and drop it inside theViewer. - On the right side, you have the Designer
PropertiesandstylesPanels (which are visible when you select any component in the viewer or a designer tree). The DesignerPropertiesandstylesPanel will be visible when clicking on a component and displays thepropertiesof that component, and can displaystylesby clicking on the styles tab. - At the top of the page, various menus and options are present.
Blocks
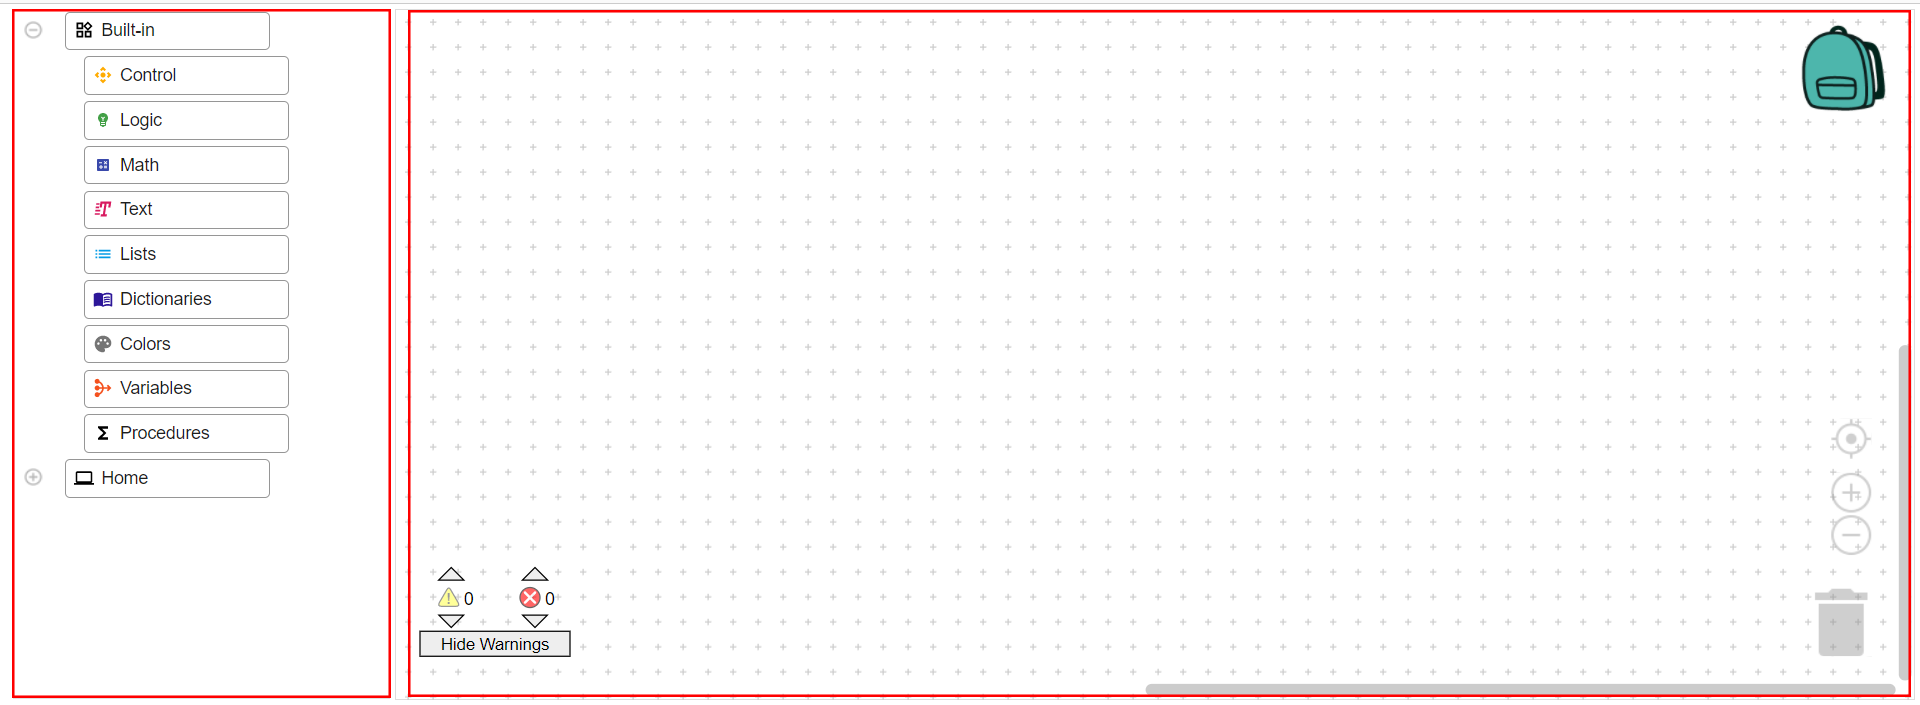
The above-shown screen is called Blocks section.
From this page, you can add/update/delete functionality to your Components.
- On the left side of the page, you will find a
treeon which the basic categories of blocks will be listed, and also our components will be displayed. - On the Right side of the page, you will find the
workspace, where you write functionally for your website. - You just drag the blocks you wanted from the tree and drop them in the workspace to create your logic.
Preview

The above-shown screen is called Preview
- On this page, you can see the preview of your website.
- You can also see the preview of your website by clicking on the preview icon at the top of the designer page.
- Preview page lets you see how your website looks on different devices like mobile, tablet, and desktop and can test the functionality of your website.
Creating the website
Now that we are familiar with the interface and Blocks, we can get to work and create a simple website, with a Button which shows the alert "Hello World", on clicking on it.
Step 1: Find the Button component from the Palette under the User Interface category. Click on it, and drag it onto the Viewer, while keeping the mouse button clicked down. This is how you add a component to the viewer.
Step 2: Now, let's add text to the button. Click on the button in the viewer, and you will see the Properties and styles Panel on the right side of the page. Click on the Properties tab, and you will see the Text property. Click on the Text property and type in the text you want to display on the button. In our case, we will type in "Click Me".
Step 3: Now, to show an alert we need a notifier component. So, drag the notifier component from the User Interface category and drop it in the viewer.
Step 4: Now, let us write the functionality by heading to the Blocks section. Click on the Blocks icon in the navigation bar.
Step 5: Drag the On Click block from the Button category and drop it in the workspace.
Step 6: Drag the show alert block from the Notifier category and attach it to On Click block.
Step 7: Now, drag the text block from the Text category and attach it to the show alert block.
Step 8: Now, type in the text you want to display in the text block. In our case, we will type in "Hello World".
Step 9: Now, click on the Preview icon in the navigation bar to see the preview of your website.
That's it! You have successfully created your first website with BlockySite.
How to publish a site
Now we are familiar with how to create a site on BlockySite. It's time to publish your site and get a sharable URL where your site can be accessed by anyone on the internet.
Step 1: Click on the cloud icon in the navigation bar.
Step 2: Select your hosting provider from the below list, by clicking on the open button.
Step 3: Now, will be asked for relevant details and credentials to publish your site.
Step 4: After filling in the details, click on the Publish button.
That's it! You have successfully published your first website with BlockySite.